


How to Choose the Best Laser Spare Parts for Your Machine?
Choosing the right Laser Spare Parts is not a simple price comparison. A nozzle, lens, protective window, or cutting head component must match the machine, process, and operating conditions. A part that looks identical may differ in material, coating, dimensions, or tolerances. Small differences matter. They can affect cut quality, downtime, and the life of nearby components.
A useful principle for this guide is: “Choose parts by verified compatibility and performance, not appearance alone.” This is original editorial wording, not a verified quotation from a named expert. For publication, replace it with a sourced quotation from a real laser service specialist and confirm the attribution. Accuracy matters here.
This guide explains how to check machine specifications, compare original and compatible parts, and assess supplier documentation. It also covers practical details: connector types, lens focal length, material grade, and the conditions in which a part will operate. Keep the machine manual and the part’s technical data close. They answer more than a sales description can.
There is no universal best part. A high-powered system may need different components from a machine used for light-duty marking. Even a trusted supplier can make a mistake. Verify the part number before ordering, and review recurring failures rather than replacing components blindly. That takes time. But careful selection can reduce avoidable stoppages and help protect consistent machine performance.
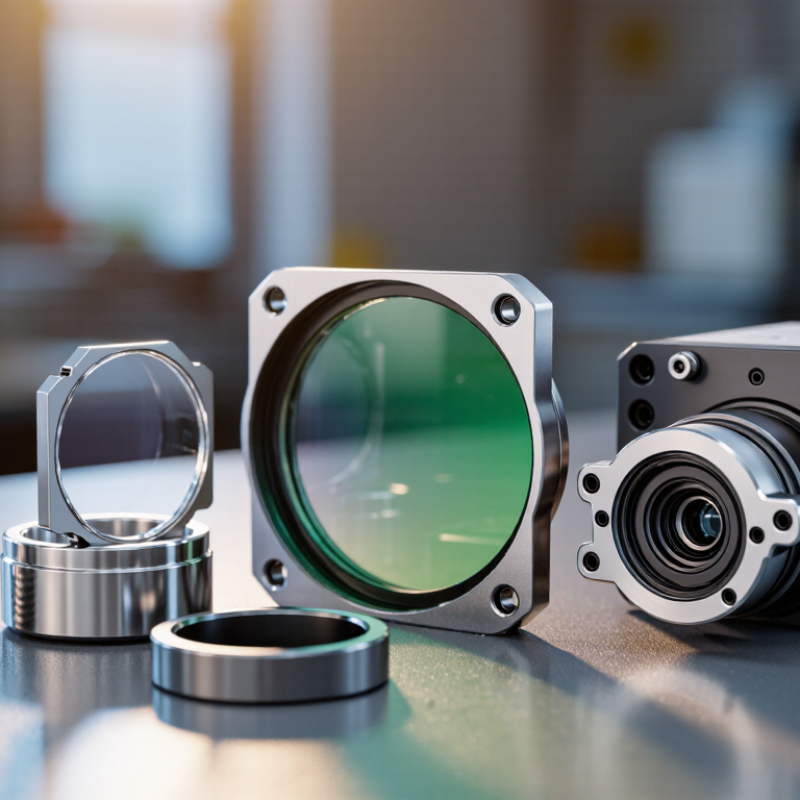
Identify Laser Type and Wavelength: CO₂ at 10.6 μm or Fiber at 1.06–1.08 μm
Before ordering spare parts, confirm the laser source and its operating wavelength from the machine’s nameplate or service documentation. A CO₂ laser typically operates at 10.6 μm; an industrial fiber laser commonly operates between 1.06 and 1.08 μm. These figures are not minor specifications. The wavelength affects how optics transmit energy and how the beam interacts with the workpiece. A lens or protective window designed for one source may absorb or reflect energy incorrectly in another. Check the component’s wavelength rating, not just its diameter or mounting thread.
The distinction also matters for maintenance. CO₂ systems use wavelength-matched mirrors and transmissive optics, while fiber systems commonly rely on silica-based delivery and collimation components. The 2023 industrial laser market review by Optech Consulting estimated the global industrial laser-source market at about €6.7 billion, underscoring how widely these technologies serve different processing setups. For a practical reference, IEC 60825-1 addresses laser radiation by wavelength and supports careful identification before handling or replacing components. Keep the old part nearby; compare its markings and inspect the optical surface under suitable lighting. One caveat: replacement compatibility still depends on power, coating, beam size, and cooling conditions. Wavelength alone is not enough. I have seen buyers overlook that detail. It is an easy mistake.

Match Optics and Consumables to Rated Power, Beam Size, and Focal Length
Choosing laser spare parts starts with the machine’s rated output and wavelength. A lens or mirror must tolerate the actual operating power, not just fit the housing. Check the supplier’s specifications against the machine manual. Coating compatibility matters.
Measure the beam diameter at the optic, then compare it with the clear aperture. A beam that nearly fills an optic can be clipped when alignment shifts slightly. Small details matter. Match focal length to the required working distance and spot size; a shorter focal length may create a smaller spot, but it can reduce depth of focus. The ideal choice depends on material thickness and process settings. Do not guess.
Consumables need the same careful matching. Select a nozzle whose opening suits the beam and cutting setup, and confirm that protective windows match the optical path and dimensions. Inspect replacement parts for scratches, dust, or damaged edges before installation. One easy-to-miss issue is assuming two parts with identical outer dimensions perform alike. They may not. Keep a record of rated power, beam size, focal length, and part dimensions after each replacement. It takes a little effort, and the notes may be incomplete at first, but they make future selection more reliable.
Check Electrical, Cooling, and Interface Limits Against OEM Specifications
Before ordering a laser spare part, compare its electrical limits with the machine’s OEM documentation, not just the old part’s label. Confirm supply voltage, current range, connector pinout, polarity, and signal type. A matching plug does not prove compatibility. Small details matter.
Cooling needs the same careful check. Verify coolant type, permitted temperature range, flow rate, pressure, and port size against OEM specifications. A chiller may appear adequate while delivering too little flow under load. Check hose routing and fittings too; tight bends can restrict circulation. Record readings during a normal production cycle, since idle measurements can be misleading.
Then examine interface limits: control signals, communication method, timing, and any interlock requirements. Confirm whether the part expects analog, digital, or pulse signals, and whether its response range matches the controller. Ask the supplier for a written specification sheet and compare each value line by line. If a limit is unclear, pause and get confirmation rather than relying on a visual match. This step is easy to rush. I would slow down here, even when the machine is waiting. Record voltage and coolant flow before installation so the next technician has concrete values to review.
Compare Nozzle, Lens, and Filter Life by Rated Hours and Process Conditions
Rated hours are a planning baseline, not a promise of service life. A nozzle exposed to spatter or frequent piercing may wear faster than one used on clean sheet. Check the orifice for burrs, ovality, or fused residue; even a small change can disturb the gas jet. Not just hours. Look at the cut edge and kerf for new signs of inconsistency.
Lens life depends on heat, dust, power, and handling. Inspect for haze, pits, or coating damage under consistent light, and follow the machine’s approved cleaning procedure. A lens can look acceptable. Visual checks are imperfect, so compare findings with cutting quality and any available machine alarms. Filter life also varies with material dust, extraction flow, and loading. Track pressure drop and inspect collected debris rather than relying on calendar time alone.
Keep a service log with rated hours, actual cutting hours, materials, and process conditions. Replace parts within the equipment maker’s stated limits, then use inspection trends to adjust maintenance intervals. Don’t stretch service just because a part looks usable. That judgment can be wrong. Changing one component at a time can help identify the cause of rough edges or unstable piercing. After a dusty run, note the filter reading before the next shift.
Validate Beam Quality and Output Power Using ISO 11146 and ISO 11554 Tests
When choosing laser spare parts, verify performance under the machine’s actual operating conditions. A replacement optic or source can fit mechanically yet alter the beam. ISO 11146 provides methods for measuring beam width and propagation characteristics, including beam quality expressed through the M² factor. Compare results with the machine’s specifications and a reliable baseline. Keep the test setup consistent: use the same measurement positions, alignment, and operating settings. Small changes matter.
ISO 11554 covers methods for measuring laser power, energy, and temporal characteristics. Check output at the work plane, not only near the source, and record readings after the system stabilizes. For pulsed systems, include pulse energy and timing measurements where relevant. Use calibrated instruments and document uncertainty; otherwise, a neat-looking number may offer false confidence. These tests help assess performance, but they do not prove that a spare part will last or suit every process. I would treat the results as evidence, not a complete verdict.
Tips: Save the old part’s test data before replacement. Repeat measurements after installation, and note any drift, alignment changes, or warm-up differences. If results disagree, check the measurement setup before blaming the component. That step is easy to overlook.
How to Choose the Best Laser Spare Parts for Your Machine? - Validate Beam Quality and Output Power Using ISO 11146 and ISO 11554 Tests
| Spare part or assembly | What to verify before installation | Relevant measurement | Example inspection result* | Selection and acceptance guidance |
|---|---|---|---|---|
| Laser source or resonator assembly | Confirm wavelength, operating mode, rated output, cooling requirements, and mechanical and electrical interfaces match the machine specification. | Measure beam widths and divergence in orthogonal directions; determine beam propagation ratio (M²) using the applicable ISO 11146 method. Measure output power using ISO 11554 methods. | Illustrative continuous-wave record: wavelength 1064 nm; mean output power 99.1 W against a 100 W nominal setting; measured M²: 1.12 (horizontal), 1.16 (vertical). | Compare results with the machine’s specified wavelength, power tolerance, and beam-quality limits. ISO test methods do not themselves establish a universal pass/fail limit. |
| Output coupler or resonator optic | Check substrate, coating wavelength range, reflectance or transmission specification, clear aperture, surface condition, and orientation. | After installation, assess the assembled beam’s width and divergence under ISO 11146 and measure delivered power under ISO 11554. | Illustrative post-service record: M² 1.14 horizontally and 1.17 vertically; mean output power 98.7 W at the same operating setting. | Use the source manufacturer’s optical and coating specifications. A change in power or M² should be investigated alongside alignment, contamination, and operating conditions. |
| Beam-delivery fiber or fiber connector | Match core diameter, numerical aperture, wavelength range, connector type, power rating, and minimum bend radius; inspect end faces for damage or contamination. | Measure beam profile and propagation characteristics at the specified measurement plane; compare power before and after the delivery path using the machine’s defined test setup. | Illustrative record: 100.0 W at the source reference point and 97.8 W after the delivery path; connector end face clean on inspection. | Apply the fiber and machine specifications for allowable transmission loss and beam delivery. Keep measurement positions and optical setup consistent for valid comparisons. |
| Focusing lens or beam-shaping optic | Verify focal length, wavelength compatibility, coating, aperture, optical orientation, and suitability for the machine’s power and thermal load. | Use ISO 11146 beam-width and divergence measurements at suitable positions along the beam to characterize propagation; verify output power with the intended test configuration. | Illustrative record: beam diameter at the specified focus 0.18 mm; mean power at the workhead 96.9 W from a 100 W source setting. | Treat focal-spot size and transmission as machine- and setup-dependent values. Compare against the approved optical layout and process specification. |
| Power supply or current-driver module | Check input requirements, output range, control signals, interlocks, cooling, and compatibility with the laser source. | Measure optical output power and, where applicable, temporal characteristics using ISO 11554 procedures; record operating conditions and instrument details. | Illustrative continuous-wave record: mean power 99.1 W; standard deviation 0.8 W over a 10-minute observation at a fixed setpoint. | The observation period and stability limit should come from the machine specification or service procedure; the example is not a universal ISO acceptance threshold. |
| Pulsed-source module or pulse-control assembly | Confirm pulse mode, repetition-rate range, pulse duration, trigger interface, wavelength, and rated average and peak power where specified. | Use ISO 11554 methods applicable to the source to measure pulse energy and temporal characteristics; use ISO 11146 for beam propagation characterization where applicable. | Illustrative pulsed record: pulse energy 1.02 mJ at 20 kHz; corresponding average power 20.4 W, calculated as pulse energy × repetition rate. | Compare pulse energy, repetition rate, and timing with the approved operating range. Use detectors and instruments suitable for the pulse duration and energy. |
| Final machine verification after replacement | Check alignment, cooling, interlocks, cleanliness, operating mode, and stabilization time; document the test plane and measurement conditions. | Record beam widths, divergence, and M² under the applicable ISO 11146 method, plus output power, energy, or temporal characteristics under applicable ISO 11554 methods. | Illustrative final record: M² 1.12 / 1.16; mean power 99.1 W at a 100 W nominal setting; measurement plane and ambient conditions recorded. | Accept the machine only against its documented performance requirements and safety procedures. Use calibrated instruments and retain measurement uncertainty and setup details. |
*All numerical results are illustrative examples, not certified test results or universal acceptance limits. ISO 11146 describes methods for characterizing laser beam widths, divergence angles, and beam propagation ratios; ISO 11554 describes methods for measuring laser beam power, energy, and temporal characteristics. Select the applicable standard parts and procedures for the laser type and measurement conditions.
Article Source:
Siemensstraße 13-15
47608 Geldern
NRW Deutschland
Mail: sale@atmmachinesolutions.com
Head office:
+49 (0) 2831 91021-20
Fax:
+49 (0) 2831 91021-99
SUPPORT and INFO
from 3 p.m. to 6 p.m:
+49 (0) 2831 91021-60
( please ring for a long time )
Monday to Friday
8.00 – 12.30
and 13.00 – 15.00
Visit / collection by appointment only!
➣ Sign up for our newsletter
Benefit from a 20% discount, don’t miss any events and always stay up to date.
To access the actual content, click on the button below. Please note that data will be passed on to third-party providers.
More information